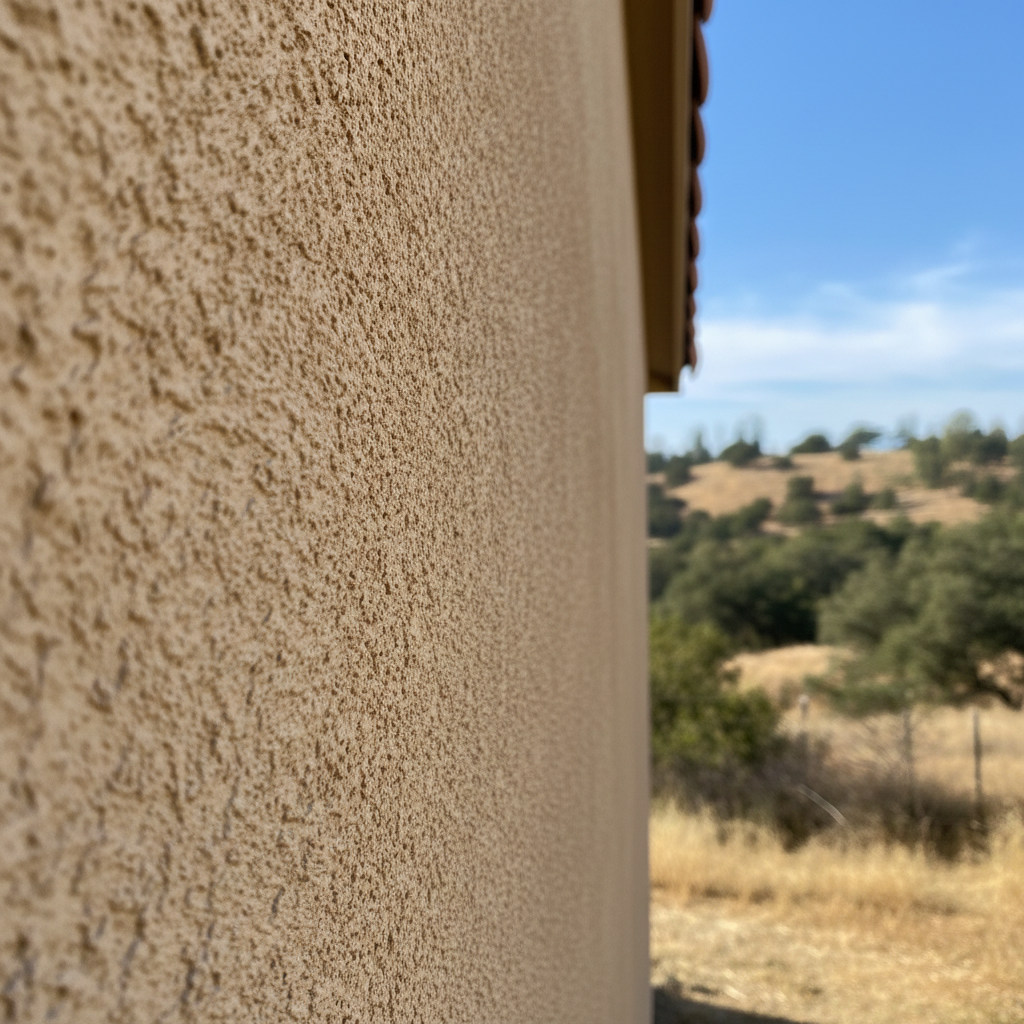
Alright, let's talk stucco replacement. Maybe your old stucco is cracking all over, or it's got water damage, or you're just plain tired of how it looks. Whatever the reason, replacing stucco isn't a small job, but it's totally doable if you know what you're getting into. As someone who's been doing this work around Simi Valley for years, I've seen it all. I can tell you what you can realistically handle yourself and when you absolutely need to pick up the phone.
Before You Even Think About Tearing Anything Out
First things first: why are you replacing it? Is it just cosmetic, or is there a bigger issue, like water getting in? If you've got water damage, you're not just replacing stucco; you're fixing whatever's underneath. That could be sheathing, framing, or even insulation. You really need to understand the full scope of the problem.
- Inspect for damage: Take a walk around your house. Tap the stucco. Does it sound hollow? Are there soft spots? Look for dark streaks, mold, or that white powdery stuff called efflorescence, especially around windows, doors, and where the roof meets the walls. These are huge red flags for water problems.
- Understand the process: A full stucco replacement means taking off the old stuff, checking the surface underneath, making repairs, putting on new weather-resistive barriers and lath, and then applying the multiple coats of new stucco. It's definitely not a quick weekend project.
- Permits: You're going to need a permit from the city for a full stucco replacement. Don't even think about skipping this step. It's there to make sure the work meets code and is done safely. Your contractor will usually handle this, but if you're doing parts yourself, you've got to be aware.
Now, what can you do yourself at this stage? You can definitely do that initial inspection. You can learn about the process. You can even start getting quotes. But for anything beyond that — especially if you suspect water damage — you're looking at professional help.
During the Replacement: DIY vs. Pro
This is where the rubber meets the road, isn't it? Most of the actual stucco replacement process is best left to experienced pros. Why? Because getting it wrong can lead to serious, expensive problems down the line – think water leaks, mold, and structural damage. Stucco isn't just a decorative finish; it's a critical part of your home's weather envelope.
What You Probably Shouldn't DIY:
- Demolition of old stucco: This sounds easy, but it's messy, dusty, and you can easily damage the underlying structure if you're not careful. Plus, you need to properly dispose of all that debris.
- Substrate inspection and repair: Once the old stucco is off, you'll see what's underneath. If there's rot or damage, fixing it correctly is crucial for your home's integrity. This often involves some serious carpentry skills.
- Applying weather barriers and lath: This is a precision job. The weather-resistive barrier (WRB) and lath need to be installed perfectly to prevent water from getting in. If there are gaps or improper overlaps, you're just inviting trouble.
- Mixing and applying stucco coats: Stucco is both an art and a science. Getting the mix right, applying it evenly, and achieving the desired finish takes years of practice. The scratch coat, brown coat, and finish coat each have specific requirements for thickness, curing, and application technique. You really don't want a patchy, cracking, or poorly adhered finish, do you?
Where You Might Be Able to Help (If You're Handy):
- Site preparation: You can move furniture, cover landscaping, and clear the work area.
- Debris removal: If you're physically capable and have a way to haul it, you might be able to help with removing the old stucco debris once it's off the wall. But remember, it's heavy and dusty.
- Painting: Once the new stucco is fully cured (which can take a few weeks), you might be able to paint it yourself if you're comfortable with exterior painting.
For most homeowners, especially with a full replacement, calling a company like Simi Valley Stucco & Plastering is the smart move. We've got the tools, the experience, and the crew to do it right, efficiently, and safely. We know the unique challenges of our area, like how the dry Santa Ana winds can affect stucco curing or how to ensure proper drainage for homes built into hillsides around places like the Santa Susana Knolls.
After the Project: Maintenance and Care
So, the new stucco is up, and it looks great. Now what? Your job isn't entirely over. You want that investment to last, right?
- Curing: Don't rush to paint it. Your contractor will tell you how long the stucco needs to cure, which can be several weeks. This allows the material to fully harden and dry out.
- Regular inspections: Just like before, do a walk-around once or twice a year. Look for new cracks, especially those tiny hairline ones. Catching small issues early is key.
- Cleaning: Stucco is pretty low maintenance, but it does get dirty. A gentle wash with a hose and a soft brush can keep it looking fresh. Just avoid high-pressure washers, as they can damage the finish.
- Sealants: If you have any small, non-structural cracks, you can use an elastomeric sealant to fill them. For anything larger, or if you see patterns of cracking, call your stucco professional.
Replacing your stucco is a big project, but when it's done right, it dramatically improves your home's appearance, value, and protection. Don't be afraid to ask questions, get multiple bids, and make sure you understand every step of the process. Your home in Simi Valley deserves the best protection it can get.