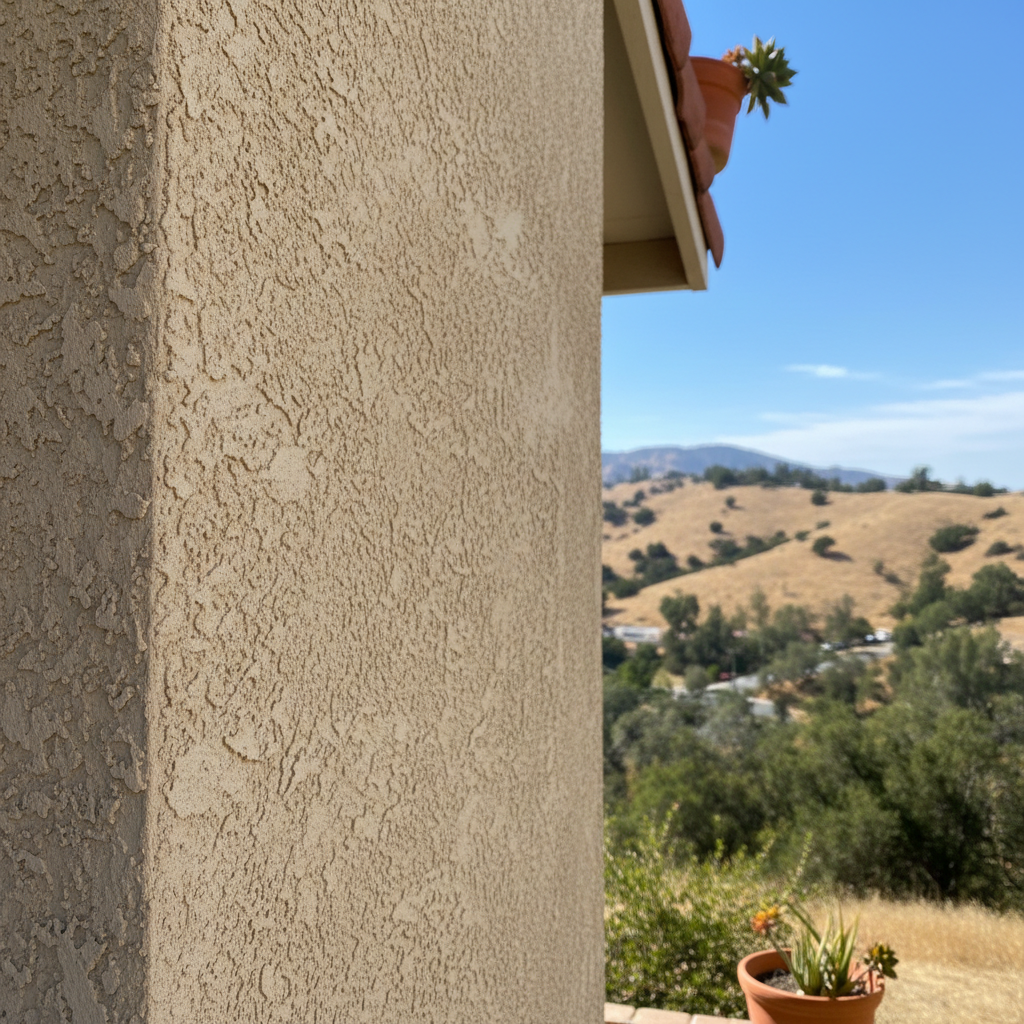
So, you're looking at your home's exterior and thinking about stucco. Maybe you've got some old siding you want to update, or you're building an addition and want that classic, durable finish. It's a great choice, especially here in Simi Valley where it handles our hot, dry summers and occasional Santa Ana winds really well. But here's the big question: can you do it yourself, or do you need a pro?
Before You Even Start: Planning & Permits
First things first, don't even think about mixing cement until you've done your homework. Stucco isn't just slapping mud on a wall; it's a whole system. You need to understand the layers: the sheathing, the weather-resistive barrier (WRB), the lath, the scratch coat, the brown coat, and finally, the finish coat. Each layer has a specific job, and if one's done wrong, the whole thing can fail.
Permits? Absolutely non-negotiable. If you're doing a significant exterior change or new construction, the City of Simi Valley Building Department will require them. Trust me, trying to sneak around this is a headache you don't want. They'll want to see your plans, and they'll inspect the work at various stages. This isn't just bureaucracy; it's about making sure your home is safe and up to code. A good contractor will handle all this for you, but if you're DIYing, it's all on your shoulders.
The DIY Dilemma: What You Can (and Can't) Realistically Do
Let's be real. Most homeowners can't install a full stucco system from scratch. It's incredibly labor-intensive, requires specialized tools, and demands a lot of skill to get a smooth, durable, and watertight finish. Here's a breakdown:
- Small Patch Repairs: If you've got a small crack or a minor ding—say, smaller than a dinner plate—and you're comfortable with a trowel, you might be able to patch it yourself. Matching the texture and color can be tricky, but for a small area, it's doable.
- Applying a Finish Coat (Maybe): If a professional has already perfectly applied the underlying scratch and brown coats, and you're just looking to apply a new color or texture as a top coat, you *might* attempt it. But even this requires a good eye and steady hand to avoid blotchiness or unevenness.
- Full Installation (Absolutely Not Recommended): Unless you're a seasoned plasterer or have extensive construction experience, installing a full stucco system on your home is a recipe for disaster. You're talking about waterproofing issues, structural integrity, and a finish that looks terrible. It's not just cosmetic; improper installation can lead to water intrusion, mold, and costly damage down the line.
Think about the tools alone: a mixer, hawk and trowel, scaffolding, specialized cutting tools for lath, sprayers for certain finishes. That's a big investment for a one-time job, isn't it?
During the Project: What to Expect from the Pros
If you decide to go with a professional – and for any significant installation, you absolutely should – here's what the process generally looks like. We'll start with prep: protecting your landscaping, getting the walls ready, and making sure the substrate is sound. Then comes the weather-resistive barrier, usually two layers of building paper, properly lapped to shed water. After that, we'll install the metal lath, which is what the stucco keys into. This needs to be fastened correctly to prevent cracking.
Next are the stucco coats. The scratch coat goes on first, then we scratch it to provide a mechanical bond for the next layer. After it cures, the brown coat goes on, bringing the wall to its final plane. This is where the skill really shows, getting everything plumb and straight. Finally, after another curing period, the finish coat is applied. This is the color and texture you see, and it's where the aesthetics come in. We always make sure to match existing textures or create the look you want.
Throughout this, we're thinking about expansion joints, weep screeds, and proper flashing around windows and doors. These details are crucial for preventing water damage, especially with our occasional heavy rains that can follow a long dry spell, really testing a home's exterior.
After Installation: Keeping Your Stucco Looking Good
Once your new stucco is up, it's pretty low maintenance, which is one of its big appeals. You'll want to keep an eye out for any cracks, especially around windows or doors, or where different materials meet. Small hairline cracks are often just surface-level and nothing to worry about, but anything larger or that seems to be growing should be checked out. Keep your gutters clean to prevent water from constantly running down the walls, and make sure your irrigation isn't directly spraying the stucco.
If you have any concerns, don't hesitate to call us at Simi Valley Stucco & Plastering. We've been doing this for years, and we've seen it all. Getting it done right the first time saves you a lot of headaches and money down the road.